10.14.2013

Carbon River

200k From Redmond to the Carbon River ranger station with the Seattle Randonneurs. A very pretty day. 200 kilometers (about 125 miles) may not sound like much, but it's a bit uphill getting there, and of course the downhill is nice, but you never make back coming down what it cost you going up. In this case, total ascent was just over a mile. My stats below show the profile.
The bit past Wilkeson tips up rather steeply. On the graph, that's the cliff around miles 50 and 75. That got my attention on the way up, but it was mostly steady work riding with strong riders with nothing to prove but no reason to dilly-dally.

Incidentally, the store in Wilkeson has an informal museum on the town's history as a sandstone mine. The store is collecting donations for a skate park.

The picture at the top of the post is the new ranger station. It's closed of course, along with most of the government, so there was nobody to sign our cards. We can work around that of course, but there were no other services either. Not so bad in late fall, but in Summer it would be both a figurative and literal mess.

Thanks to John Pearch for organizing a very nice ride!


How to tell Eneloop batteries apart


Sanyo is now making the 3d generation of their Eneloop battery, the best NiMH rechargeable battery ever made. There are various special high-capacity and other versions, but their advantages are dubious in almost all situations: the standard Eneloop is almost always best: for about $3, you get an AA battery than can be charged 1800 times and after sitting on a shelf or in a Tickle-me-Elmo for five years, still has most of its juice left.

(Actually, there is a 4th generation Eneloop battery that is easy to identify because it says "Panasonic" on the side, but these are not available in the US yet.)

If you've bought Eneloops over the years or you buy used electronics that have Eneloops already in them, you may want to tell the different generations apart. The main reason for this is to avoid mixing and matching different batteries. And that's important --not usually. You shouldn't mix different brands or models of batteries, but would you even notice if you put one version 1 Eneloop in with 3 version 3s?

Probably not, but when a device takes several batteries together, run-time will only be as good as the weakest battery. So those fancy new V3 batteries are now limited to the performance of a V1 battery. That's irrelevant in a TV remote, and and probably a small difference in an RC toy. But in a flashlight or a bike light, it could make a big difference in run time.

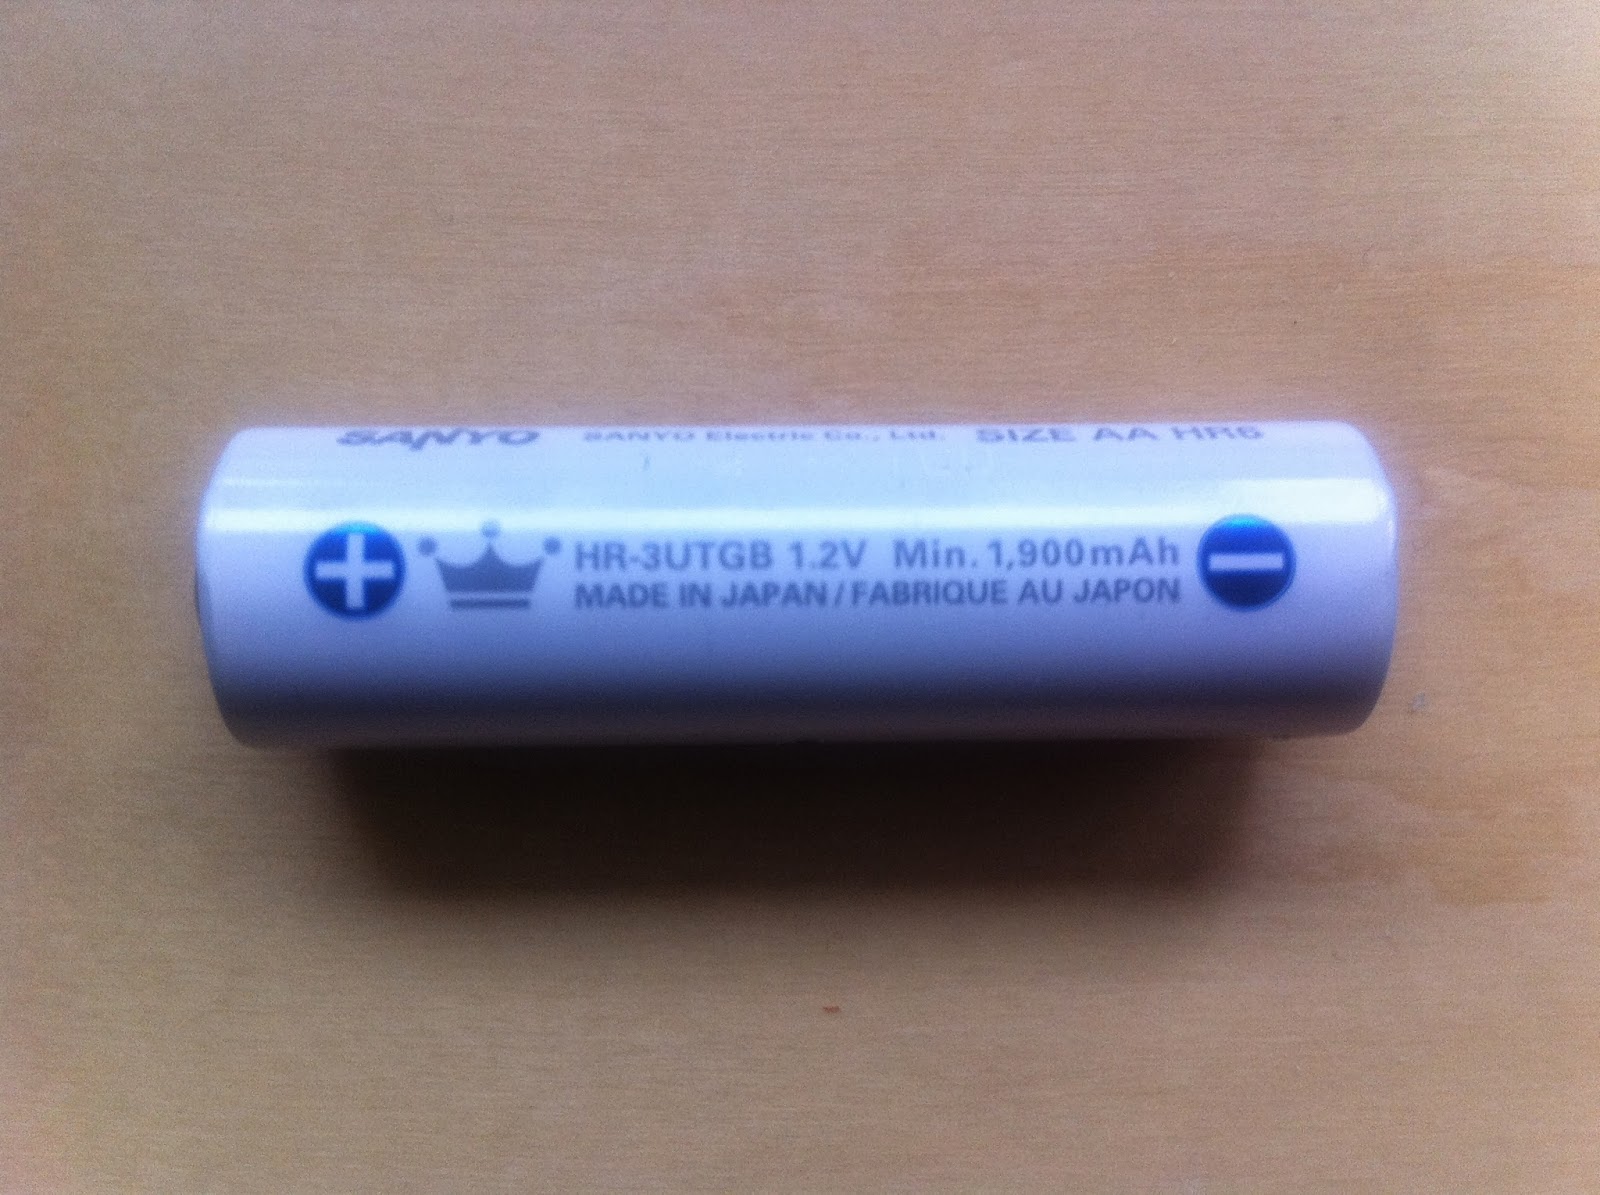
The different Eneloop AA batteries all have a code on them to identify the generation. The battery above has a code next to the crown. First generation are HR-3UTG, second are HR-3UTGA, and third generation are HR-3UTGB. The battery above is therefore a third generation battery. AAA batteries have a 4 in place of the 3, so a 2nd generation AAA has a code of HR-4UTGA.

The picture at right shows first- and third-generation AA batteries. Changes in layout and the addition of an EU "don't put in regular recycling" bug make it easy to separate these two if you know what you're looking for.

In store packaging, 3rd generation Eneloops have "1800" in orange prominently printed on the blister pack.

Third generation batteries have significantly lower self-discharge, so they can last for years in your emergency flashlight and still have most of a charge when the power finally does go out. They also operate at very low temperatures --important for bike lights and other outdoor uses.

And, of course, the 3rd generation batteries provide more charge cycles. You may not think you need 1800 charge cycle, but a high charge cycle rating means the battery will maintain its typical capacity over a higher fraction of those charge cycles, even if you subject it to high current, deep discharge, low temperature, vibration --in other words, a typical day in the life of a battery that works for me.

Rechargeable batteries are now so good that you can just use them for years and replace them when they seem tired. But if you want, you can get more performance out of your rechargeable batteries by periodically reconditioning them. If that sounds like becoming a full-on battery otaku, it' actually not a big deal, but I'll save that topic for another day.

10.02.2013

SAE What?

Here are the two most dangerous SAE screws to get mixed in with your ISO (metric, as in bike) screws. They are the 1/4"-28 and the 10-24, shown with the ISO screws they are confused with at right. The SAE screws are 1/2" long, the ISO screws are 12mm, slightly shorter. Shown here are button screws. Each "wrong" button screw will also take the "right" screw's Allen key, with a slightly loose fit.
  • The 1/4"-28, at bottom, is slightly bigger than the M6 above it, with slightly looser threads. When I hold two these at arms-length, I can't tell which is which, let alone identify one by iself.
  • The 10-24, second from top, has coarser threads than the M5 above it. This seems obvious, but doesn't actually take much carelessness to miss, especially if you don't work in a bike shop surrounded my M5 threads all day. The bottom of the 10-24's threads are quite a bit deeper than the M5's, but because coarser threads are thicker, the outside diameters of the screws are about the same.
What happens when an SAE screw is used by mistake on a bike? Nothing good, of course. In my previous post, I discussed my adventures with 10-32 screws and nuts versus M5, but all I wielded in anger was a thread gauge. This time, wanting to know the whole horror story, I got out the tools to wreck some hardware.

The 1/4"-28 is notorious for destroying bike bosses. I used a torque wrench to thread it into an M6 nut. The screw progressively stiffened to 20 Nm. At this point the screw was visibly cross-threaded into the nut. M6 screws are often torqued to 25 Nm or higher; on stems, aero bars, and the like. Threading by hand, it's obvious something is wrong, but a torque wrench is long enough to make 20 Nm easy to turn. But even using an Allen key, by the time it's clear that something is wrong, the threads on the bike are likely destroyed.

I backed out the 1/4"-28 and threaded in the correct M6, which promptly bound. Forcing it did not help. attempts to back the screw out again succeeded only in shearing off the screw. If I had conducted this experiment using an actual bike instead of a special stunt-nut in place of the bike, I would now have a huge mess on my hands.

Thanks to Adrian Burns for pointing out the perils of the 1/4"-28.

The 10-24 is insidious. It's easier to spot, but if missed, it threads in and appears to work. Yes, it's a bit stiff, but even with dry threads I never measured above 5 Nm. Once it's in, it appears to hold. Your rack or bottle cage is now mounted. But the bike's threads are trashed, and the screw will probably loosen. If thread locker doesn't help, you may try a new screw, doubtless an actual M5. Then the real grief starts.

I simulated this by tightening a 10-24 down to about 10 Nm. The screw wouldn't strip through at this torque, but it easily loosened. I then backed it out of the nut and threaded an M5 screw. This was stiff for a few turns as the M5 reformed the damaged threads. Then the M5 became rattle-loose in the nut. Now nothing will fit that hole until it is drilled and tapped for something larger.

I try not to keep any of these problem-child screws around, especially not in the heads and lengths used for bikes, especially in stainless, which is used a lot for bikes. If I feel like I have to stock one of these, I'll mark it on both ends with a red laundry marker to remind me that it's trouble.